Streaming on a Budget - Tools (Episode One)
Streaming on a Budget - Tools (Episode One) 01:50:43
After a week with very limited sleep time, I finally done with the first installment for "Streaming on a Budget" tutorial series.
This video shows few basic tools that would be needed to start preparing yourself for streaming. Granted, this tutorial series is geared towards individuals that already own a computer/laptop and a camera/webcam, which are probably the most expensive tools to acquire.
My goal with this video is to allow you to learn how to use OBS by creating your first streaming scene collection on OBS. On the next video I will be adding new scenes to the collection with new tools to improve the project step by step.
In this video you will learn:
How to:
1. Download and Install OBS.
2. Download and install two essential Plugins for OBS.
3. OBS 101 - Creating Scenes and adding sources to them.
4. Setting up your PC audio/sound mixing.
5. Filtering your headset mic to sound like a pro.
6. Create LUTs for your camera with DaVinci Resolve.
7. Laying out a basic stream set (Game Session, Intermission and Break).
8. Using online overlays on your Scenes.
9. Adding your followers count and Rumble Chat.
10. Spicing up your Intermission Scene with Affinity Photo.
11. Adding @whatupian supporters' content.
12. Setting up your OBS to work with a streaming deck.
Video Time Table
00:00:11 Download & Installing OBS
00:03:39 Download & Install Transition Table (Plugin)
00:06:30 Download & Install Move Transition (Plugin)
00:08:15 OBS UI Basics (101)
00:16:22 OBS Audio Setup
00:20:01 Setting Up System Audio
00:22:49 Managing Video Recording Storage (Note Aside)
00:24:20 Setting Up Headset on OBS
00:25:18 Filtering My Cheap Headset
00:28:51 Demonstrating Sound Quality (Before / After)
00:34:30 Adding Video Capture Sources
00:34:55 Low Budget Camera (Recommendation)
00:39:07 Adding Your Camera or Webcam
00:42:01 Source Panel Layers' Order Logistic
00:42:30 Adding Media & Game Source
00:50:38 How to Use Move Transition Plugin
00:55:11 LUTs for the Camera (DaVinci Resolve - Quick Review)
00:56:54 Creating LUTs with DaVinci Resolve
01:00:38 Adding Online Overlays
01:03:04 Adding a Browser Source to Scene
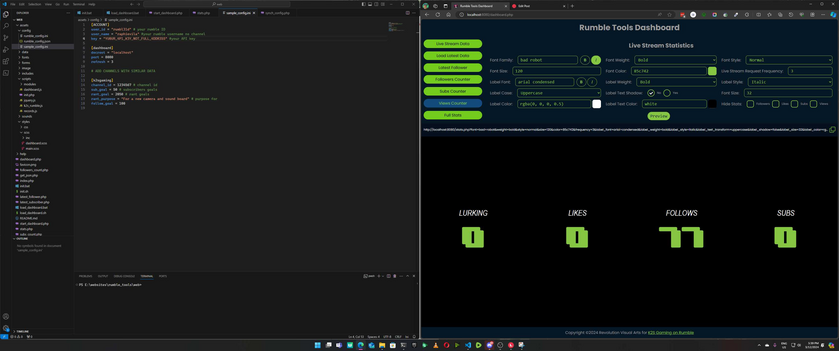
01:03:59 Adding Followers' Count to Stream
01:08:16 Adding Rumble Chat (Code used on Locals)
01:14:24 Creating Custom Overlays (Affinity Photo - Quick Review)
01:16:34 Adding an Image Source to Scene
01:25:50 Adding Break Scene
01:28:21 Using a Stinger for Transitions (Using one from @whatupian)
01:29:48 How to Use Transition Table Plugin
01:33:07 Refining and Addding Other @whatupian Motion Graphics
01:37:14 Recap
01:47:58 Credits
Download References
OBS
https://obsproject.com
OBS Plugins
Transition Table by Exeldro
https://obsproject.com/forum/resources/transition-table.1174/
Move Transition by Exeldro
https://obsproject.com/forum/resources/move-transition.913/
Optional Tools
Affinity Photo - https://affinity.serif.com/en-us/photo/ (30 Days Free Trial)
DaVinci Resolve - https://www.blackmagicdesign.com/products/davinciresolve/studio
Background Music
Motion Array - https://motionarray.com
Motion Graphics
Rumble Follow Loop & Rumble Stinger by @whatupian
https://whatupian.locals.com
Gametag with social icons animation by @k2sgaming
https://k2s.designersgate.com/overlays
Recommended Low Cost Gear
Monoprice
2K Webcam with LED lights ($37 - $49)
https://www.monoprice.com/product?p_id=43016
Amazon
USB Microphone with Output jack ($19)
https://www.amazon.com/Microphone-Cancelling-Headphone-Condenser-Compatible/dp/B089F2SF73?source=ps-sl-shoppingads-lpcontext&psc=1
CSS for Pop Up Chat
.chat-history {
    z-index: 1000;
    background: transparent;
    padding: 0;
    box-sizing: border-box;
    font-size: 16px;
    align-items: flex-end;
}

.chat-history--row {
    display: flex;
    align-items: center;
    background: rgba(52, 1, 87, 0);
    border: 2px solid #333;
    border-width: 2px 0;
    border-top-color: transparent;
    padding: 10px;
    overflow: hidden;
}

.chat-history--message {
    color: gold;
}

.chat-history--user-avatar {
    width: 32px;
    height: 32px;
}

.chat-history--username {
    overflow: hidden;
}

.chat--header {
    display: none;
}

.chat-message-form {
    display: none;
}

button.chat--sign-in {
    display: none !important;
}

body .chat--height {
    height: calc(100vh - 28px);
    background: transparent;
}

.chat--container.container {
    background-color: transparent;
}

html, body, main {
    background-color: rgba(0, 0, 0, 0) !important;
    margin: 0px auto;
    overflow: hidden;
}
CSS for Channel Live Static URL
body { background-color: rgba(0, 0, 0, 0); margin: 0px auto; overflow: hidden; }

.chat-history {
    position: fixed;
    top: 0;
    left: 0;
    width: 600px;
    height: 100%;
    z-index: 1000;
    background: #00ff00;
    padding: 30px;
    box-sizing: border-box;
    font-size: 20px;
    align-items: flex-end;
}

.chat-history--row {
    display: flex;
    align-items: center;
    background: rgba(52, 1, 87, 0);
    border: 2px solid #333;
    border-width: 2px 0;
    border-top-color: transparent;
    padding: 10px;
    /* border-radius: 8px; */
    overflow: hidden;
}

.chat-history--message {
    color: gold;
}

.chat-history--user-avatar {
    width: 32px;
    height: 32px;
}

.chat-history--username {
    overflow: hidden;
}
For the Static Live Chat CSS you need to follow instructions on how to remove the green screen with Color Key [here](https://designersgate.locals.com/post/3420157/new-download-links-rumble-session)
